Create your first custom field
Once the plugin is installed, enable it: go to Extensions > Plugins, search for "Fields", and publish the plugin you want to use. The plugin itself has no settings to configure.
Then go to the component where you want to add the custom field. This example uses Joomla articles.
Field group
First create a Field Group (this example creates a "Video" group).
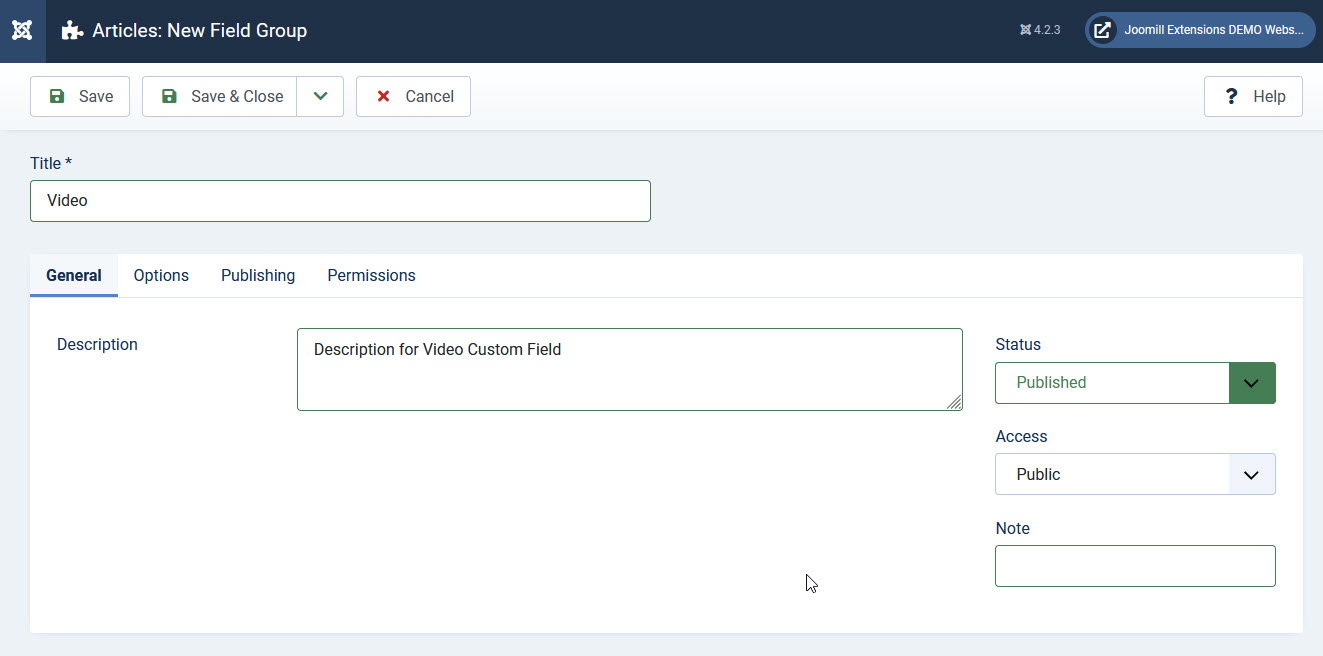
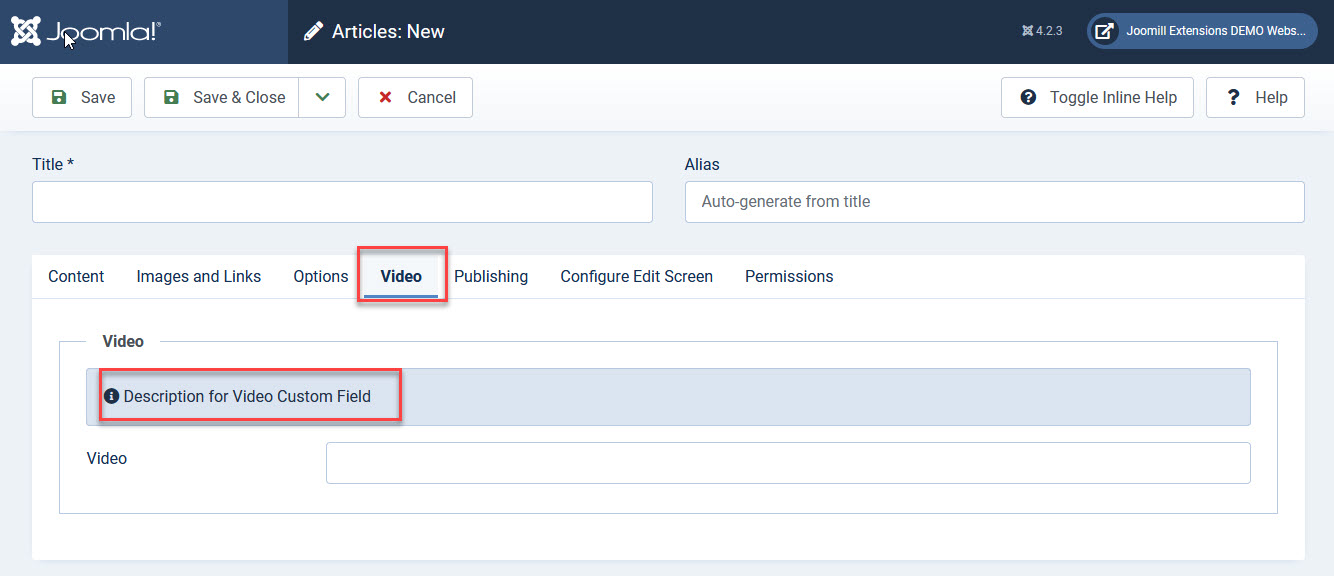
The group's name appears in the article as a tab, and its description appears as helper text.
Custom field
Go to Fields and create a new one. Give it a title and select the custom field type, you can't change the type after saving.
You can also enter a description, mark it as required, and set a default value.
On the Options tab, you can configure:
| Placeholder | Placeholder text shown inside the field as a hint for the required input. |
| Render Class | CSS class added to the field when it's displayed. Separate multiple classes with spaces. |
| Edit Class | CSS class added to the field on the edit form. Separate multiple classes with spaces. |
| Show Label | Show or hide the field's label. |
| Show on | Where the field is used: Site, Administrator, or Both. |
| Automatic Display | Where Joomla renders the field automatically: After Title, Before Content Display, After Content Display, or None. Choose None if you want to render the field manually in a template override. |
Save the field once you're done.